
ScarabMike
Jetboaters Admiral
- Messages
- 2,223
- Reaction score
- 2,061
- Points
- 302
- Location
- Green Cove Springs, FL
- Boat Make
- Yamaha
- Year
- 2022
- Boat Model
- AR
- Boat Length
- 19
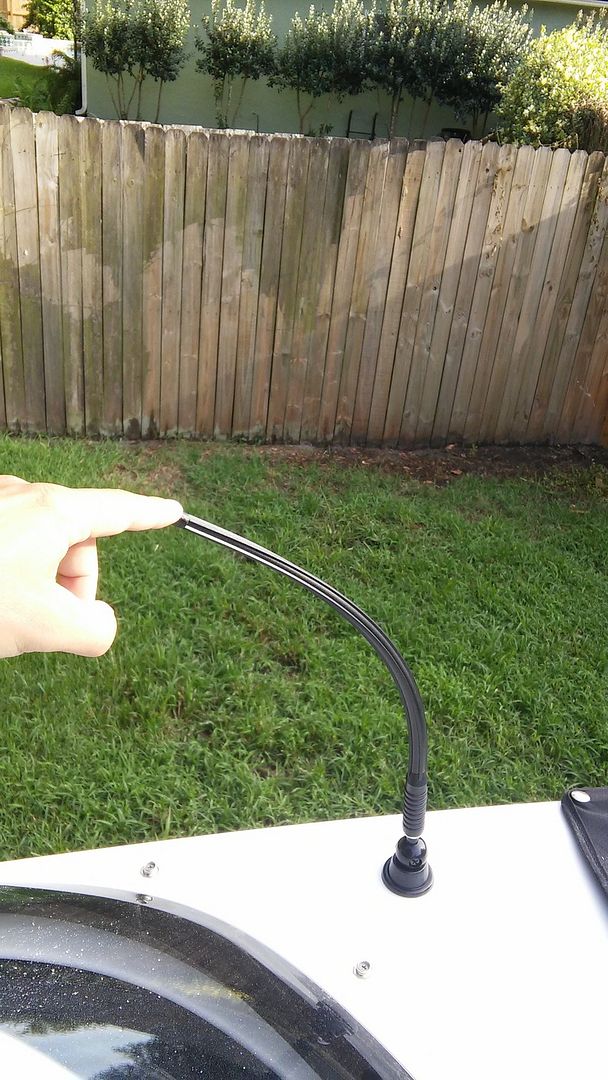
I was having terrible reception on my radio, and the antenna Scarab had installed (orange #6 wire with an antenna connector) sucked. I purchased this antenna from Amazon for $13.
http://www.amazon.com/gp/product/B000O8WIS0?psc=1&redirect=true&ref_=oh_aui_detailpage_o00_s00
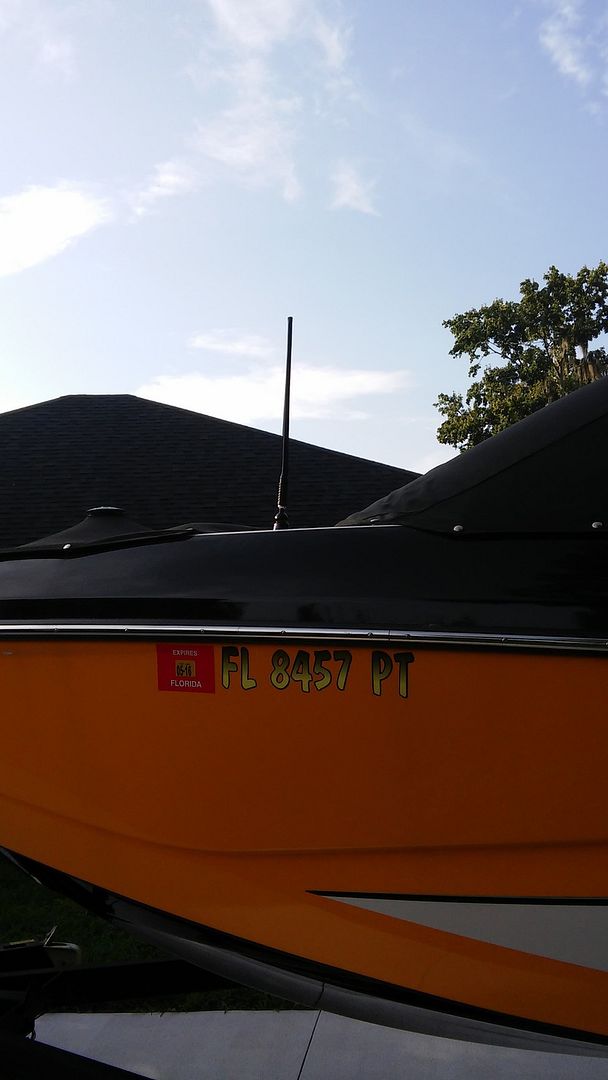
I installed it the other day, and it is awesome! My radio signal is clear, and I can pick up a ton more stations.
Here is the install. This works on any brand boat.
You'll need:
1. Drill
2. 7/8 circular bit
3. Pencil
4. Blue Masking tape.
5. Philips screw driver
6. shop vac (optional)

1. Unscrew the antenna mast from the base by turning the mast counter clockwise.
2. Remove Phillips screw from the side of the base, and set aside for installation.
3. Looking down at the top of the base, remove the second Philips screw that is now accessible.
4.Lift the remainder of the ball mount, plastic base, and rubber gasket.

5. Locate a suitable flat area to mount the antenna. Check below the mounting area to safeguard against any damage to other surfaces or equipment. Make sure you will be able to run the antena cable to the radio.
6. Use blue painters masking tape to cover the area to be drilled.

7.Using a marking instrument, mark the hole, and double check the clearances.
8. Drill a 7/8" hole in the desired area. Put the drill in reverse until you are through the gel coat.

9. Use a countersink or similar to burr the outside of the hole. This will prevent spider cracks in the future. I used a dremel with a sanding bit.
10. Feed the antenna cable into the hole while aligning the movable legs into a vertical position.

11. While holding the antenna assembly from the bottom, re-attach the rubber base gasket, and plastic base.
12 Place ball mount back in the plastic base, and make sure its in correctly in the slot. Place the philips screw loosely, but to the point where it doesn't let go.
13.Tighten the Philips screw slowly, making sure the movable antenna legs below the mounting surface are in the horizontal position.
14. Tighten until firm, but don't over tighten.
15. Re attach the remaining half of the ball mount in the position/angle you like using the scre from step #2
16.Re attach antenna mast to base, and connect cable to radio.

http://www.amazon.com/gp/product/B000O8WIS0?psc=1&redirect=true&ref_=oh_aui_detailpage_o00_s00
I installed it the other day, and it is awesome! My radio signal is clear, and I can pick up a ton more stations.
Here is the install. This works on any brand boat.
You'll need:
1. Drill
2. 7/8 circular bit
3. Pencil
4. Blue Masking tape.
5. Philips screw driver
6. shop vac (optional)
1. Unscrew the antenna mast from the base by turning the mast counter clockwise.
2. Remove Phillips screw from the side of the base, and set aside for installation.
3. Looking down at the top of the base, remove the second Philips screw that is now accessible.
4.Lift the remainder of the ball mount, plastic base, and rubber gasket.
5. Locate a suitable flat area to mount the antenna. Check below the mounting area to safeguard against any damage to other surfaces or equipment. Make sure you will be able to run the antena cable to the radio.
6. Use blue painters masking tape to cover the area to be drilled.
7.Using a marking instrument, mark the hole, and double check the clearances.
8. Drill a 7/8" hole in the desired area. Put the drill in reverse until you are through the gel coat.
9. Use a countersink or similar to burr the outside of the hole. This will prevent spider cracks in the future. I used a dremel with a sanding bit.
10. Feed the antenna cable into the hole while aligning the movable legs into a vertical position.
11. While holding the antenna assembly from the bottom, re-attach the rubber base gasket, and plastic base.
12 Place ball mount back in the plastic base, and make sure its in correctly in the slot. Place the philips screw loosely, but to the point where it doesn't let go.
13.Tighten the Philips screw slowly, making sure the movable antenna legs below the mounting surface are in the horizontal position.
14. Tighten until firm, but don't over tighten.
15. Re attach the remaining half of the ball mount in the position/angle you like using the scre from step #2
16.Re attach antenna mast to base, and connect cable to radio.
Last edited:
