Well, I got around to doing this today. Below, find the writeup that I just added to my Google Doc in my signature.
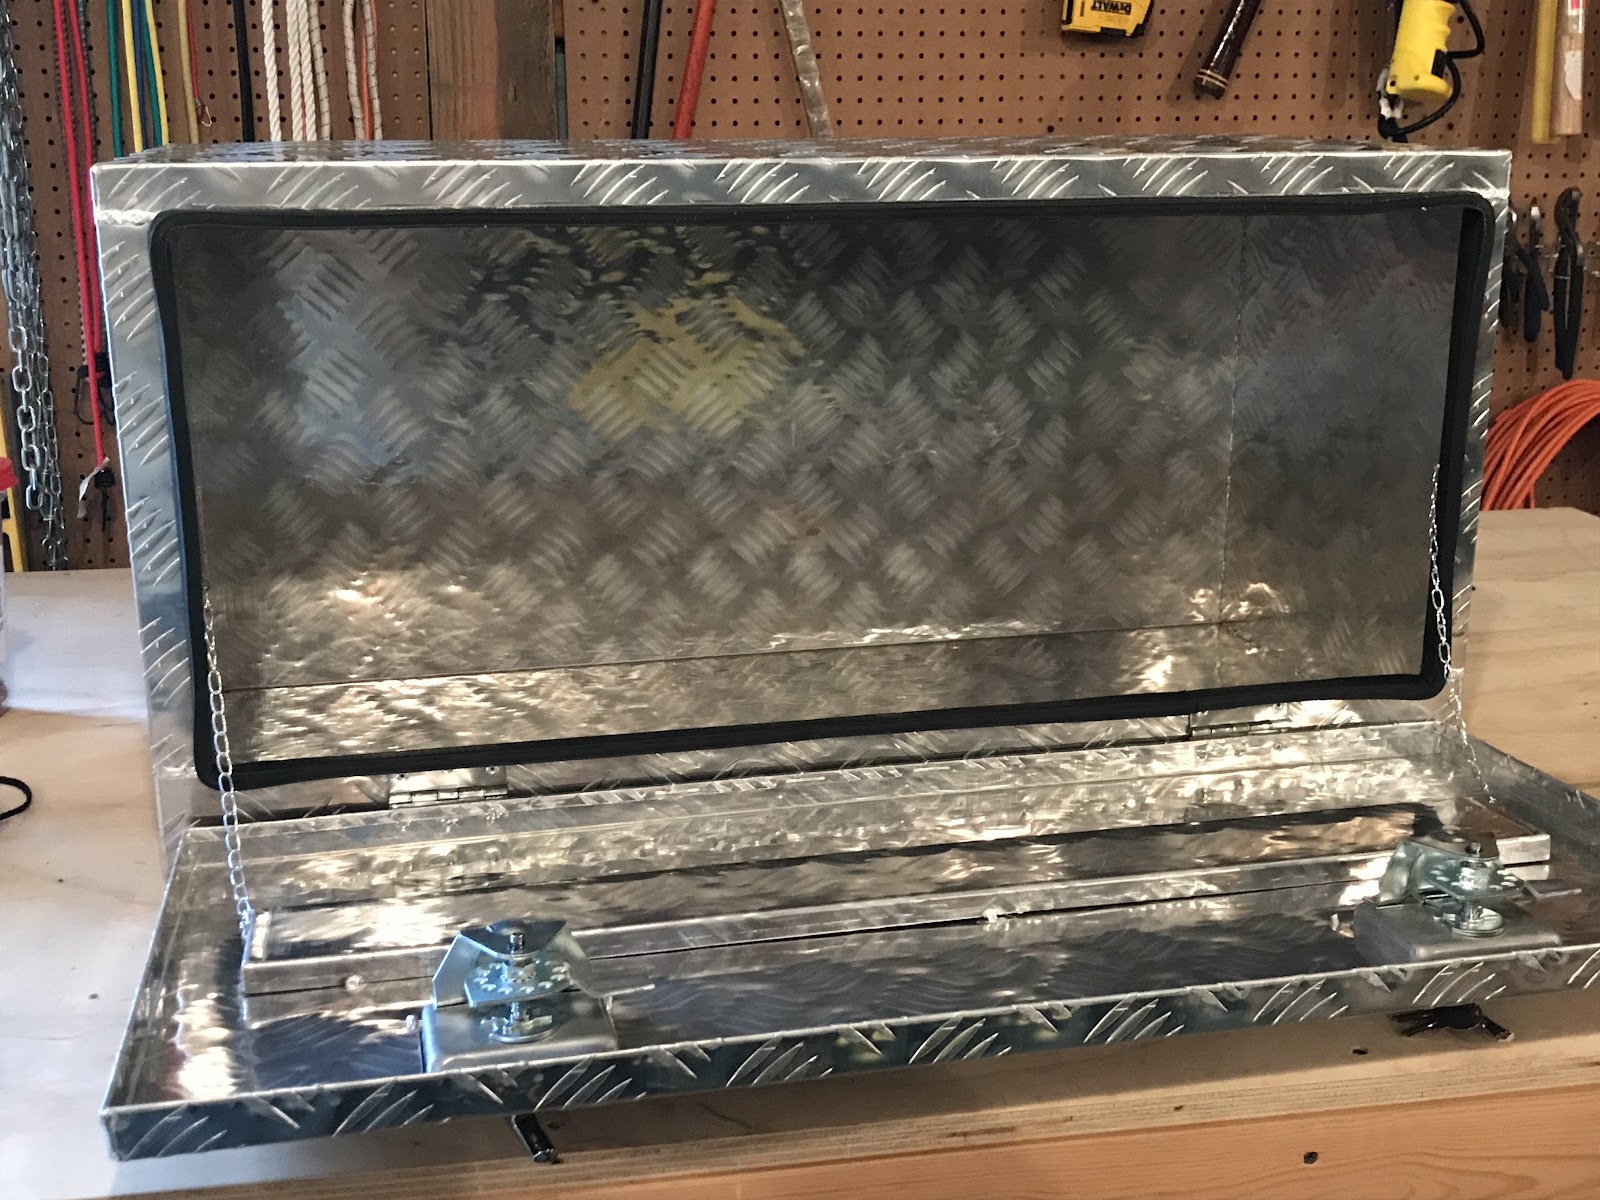
I have several road trips coming up this summer, and am feeling the need to be better prepared in case of road trouble. I see these toolboxes on other trailers, and wondered whether it would be possible to outfit a boat trailer. Here are the supplies that I used. I feel like a smaller toolbox would have been plenty, but this was about the only one that I could find that opened on the side instead of top at a price that I was willing to pay.
Supplies:
- Marine U-Bolts ½” X 4 ⅛” X 3”
- Northern Tool Truckbox Mounts - $59.46
- Aluminum Underbody Toolbox - $115
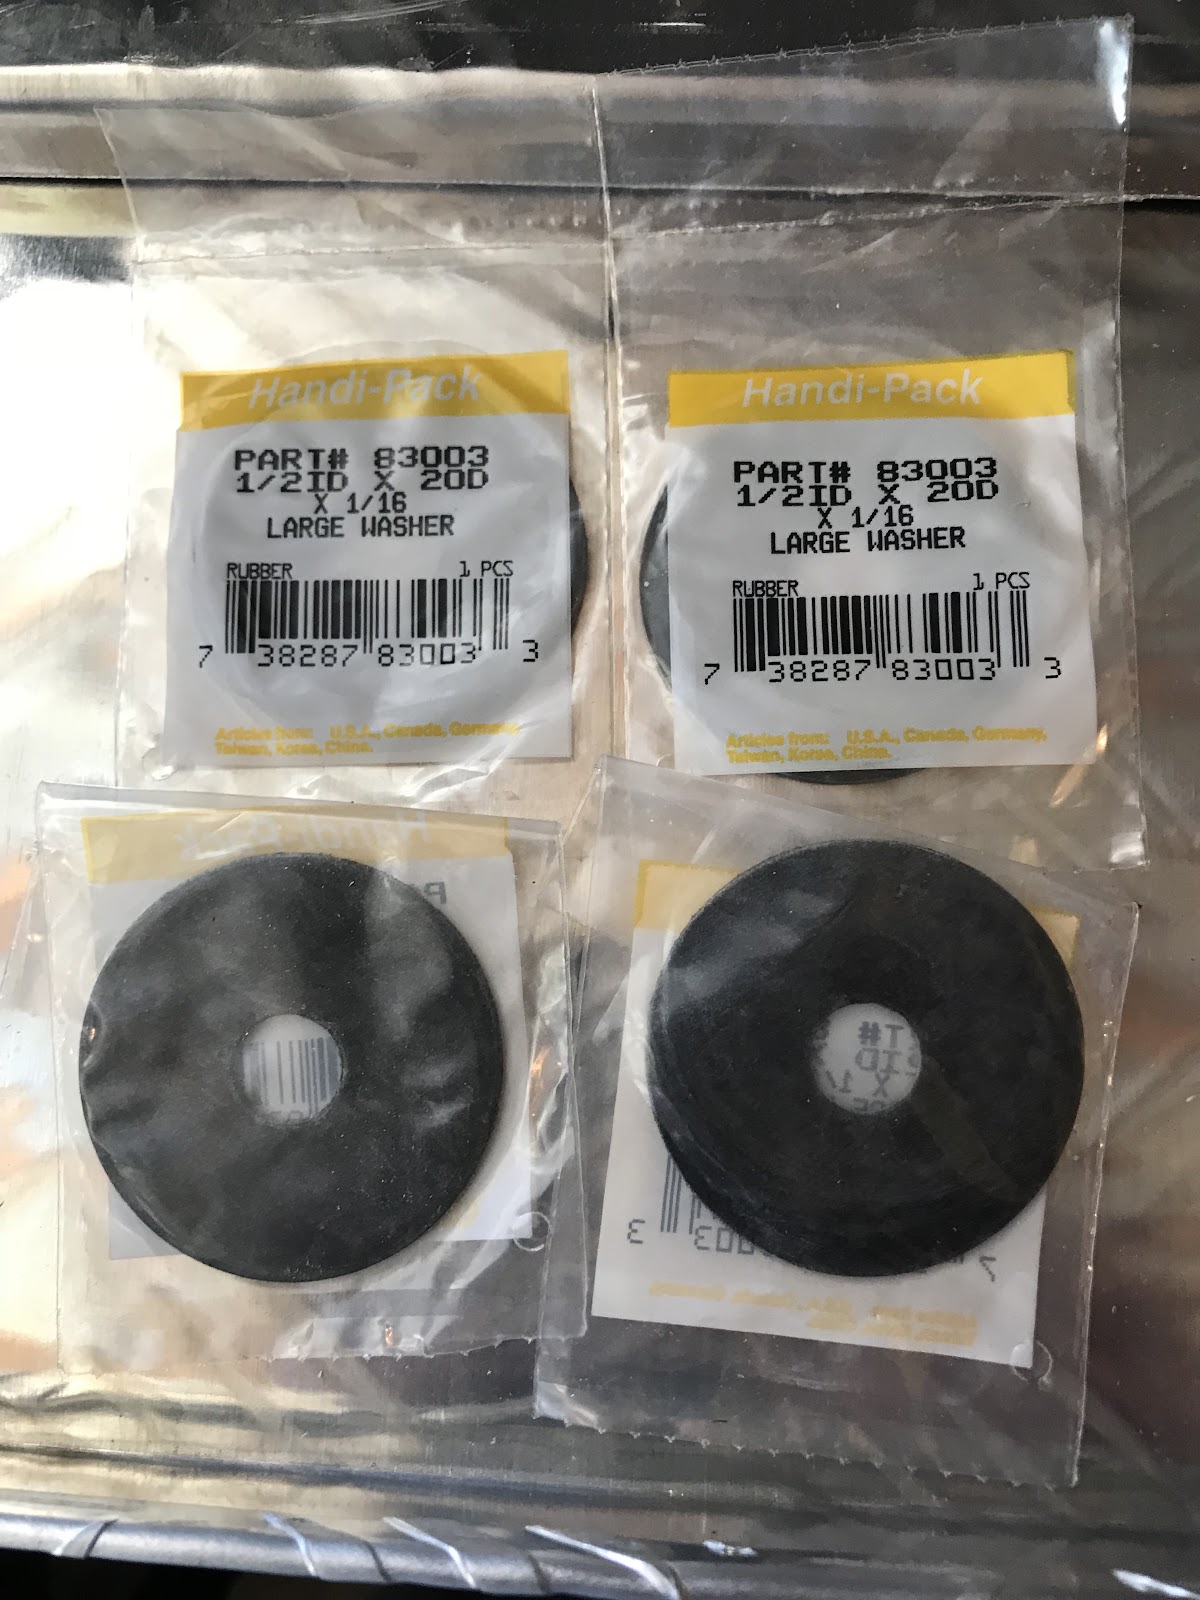
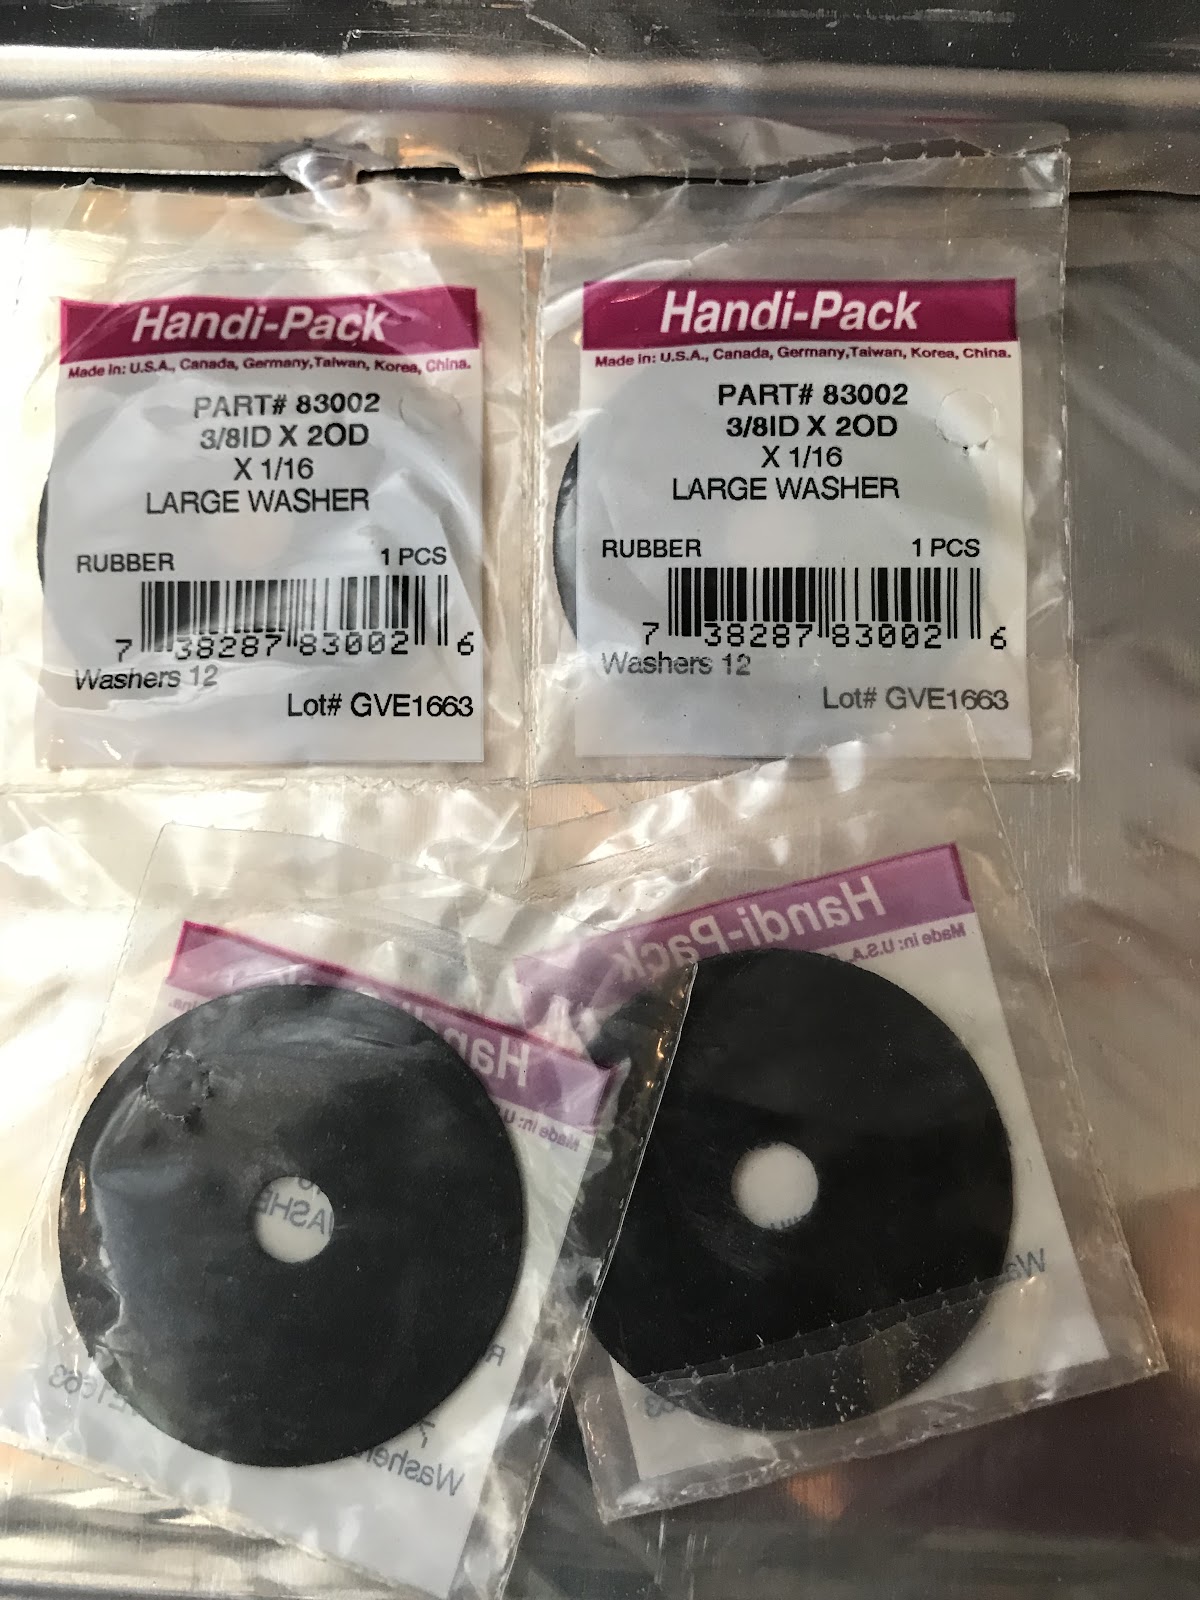
- Rubber washers - $1 each at local shop. 4 @ ½ Internal diameter x 2” Outside diameter. 4 @ ⅜ Internal Diameter x 2” Outside diameter
- Clear silicon
- ¾” plywood (left over from another project)
- Marine carpet (left over from another project
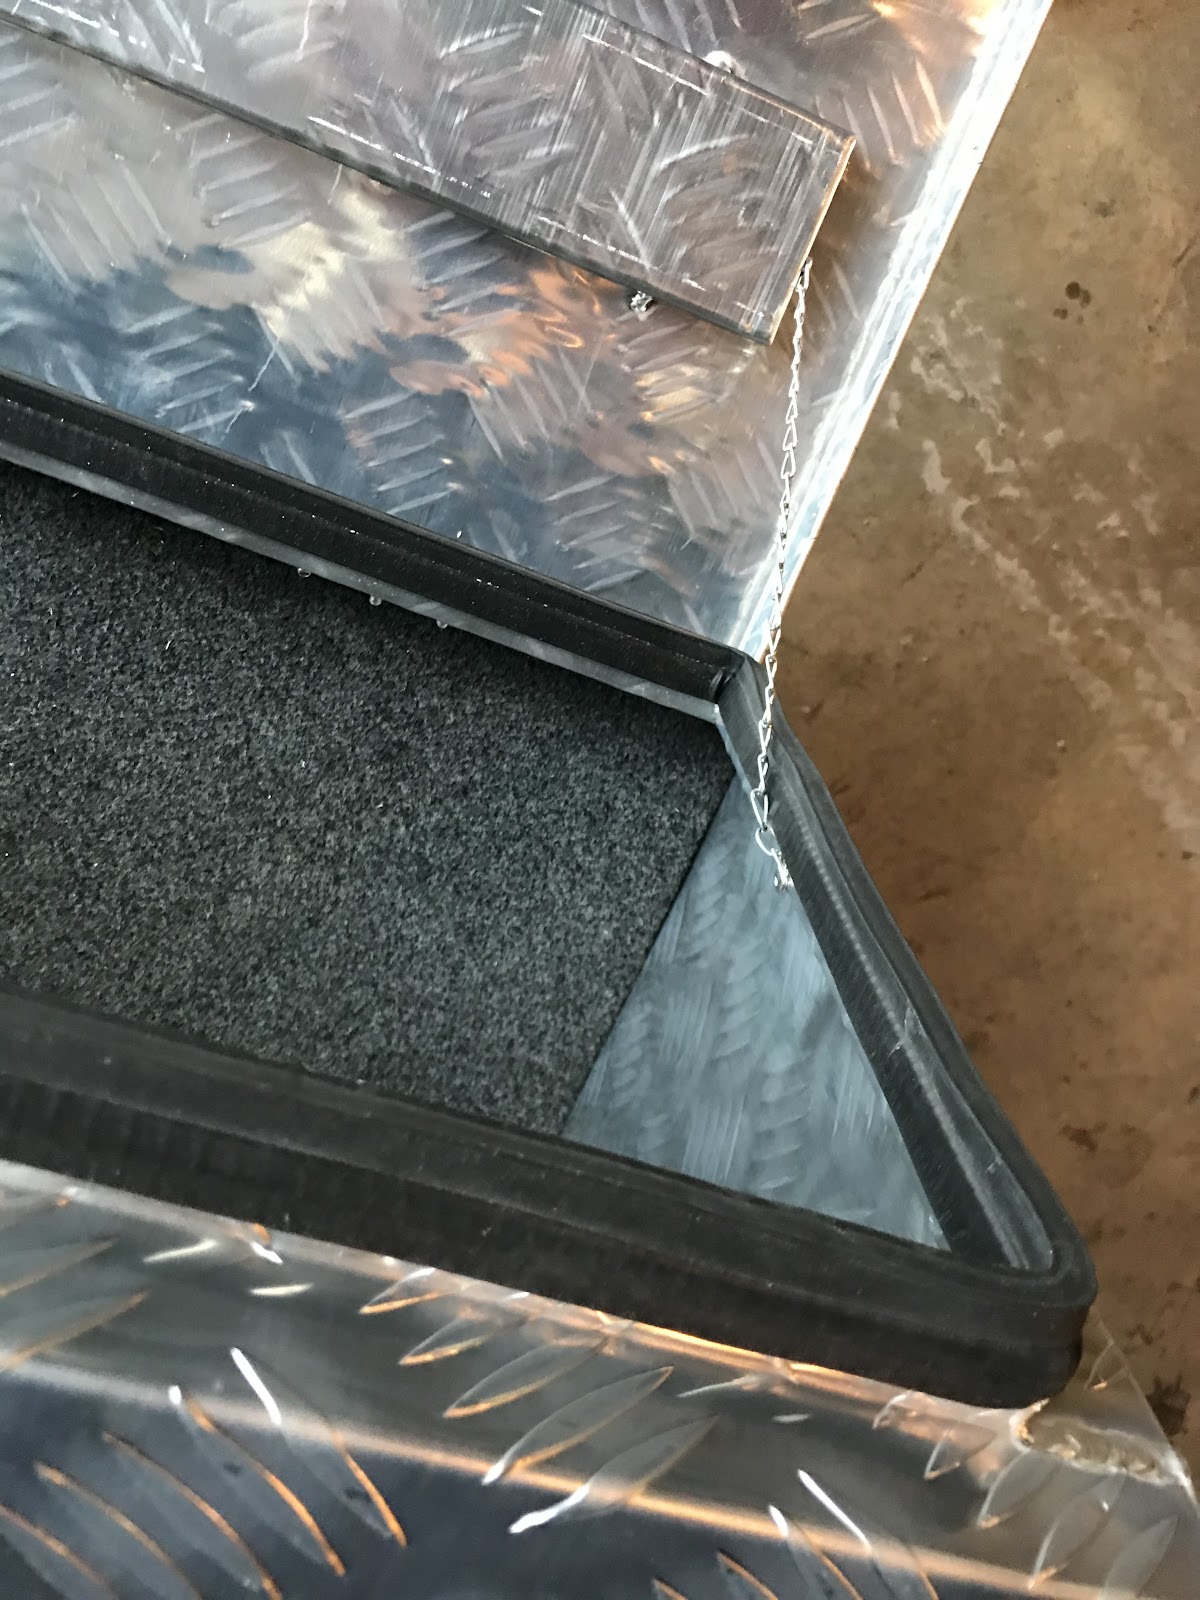
Pics of the toolbox on the bench. Rubber around the door looks pretty good. Hoping that it’s watertight.
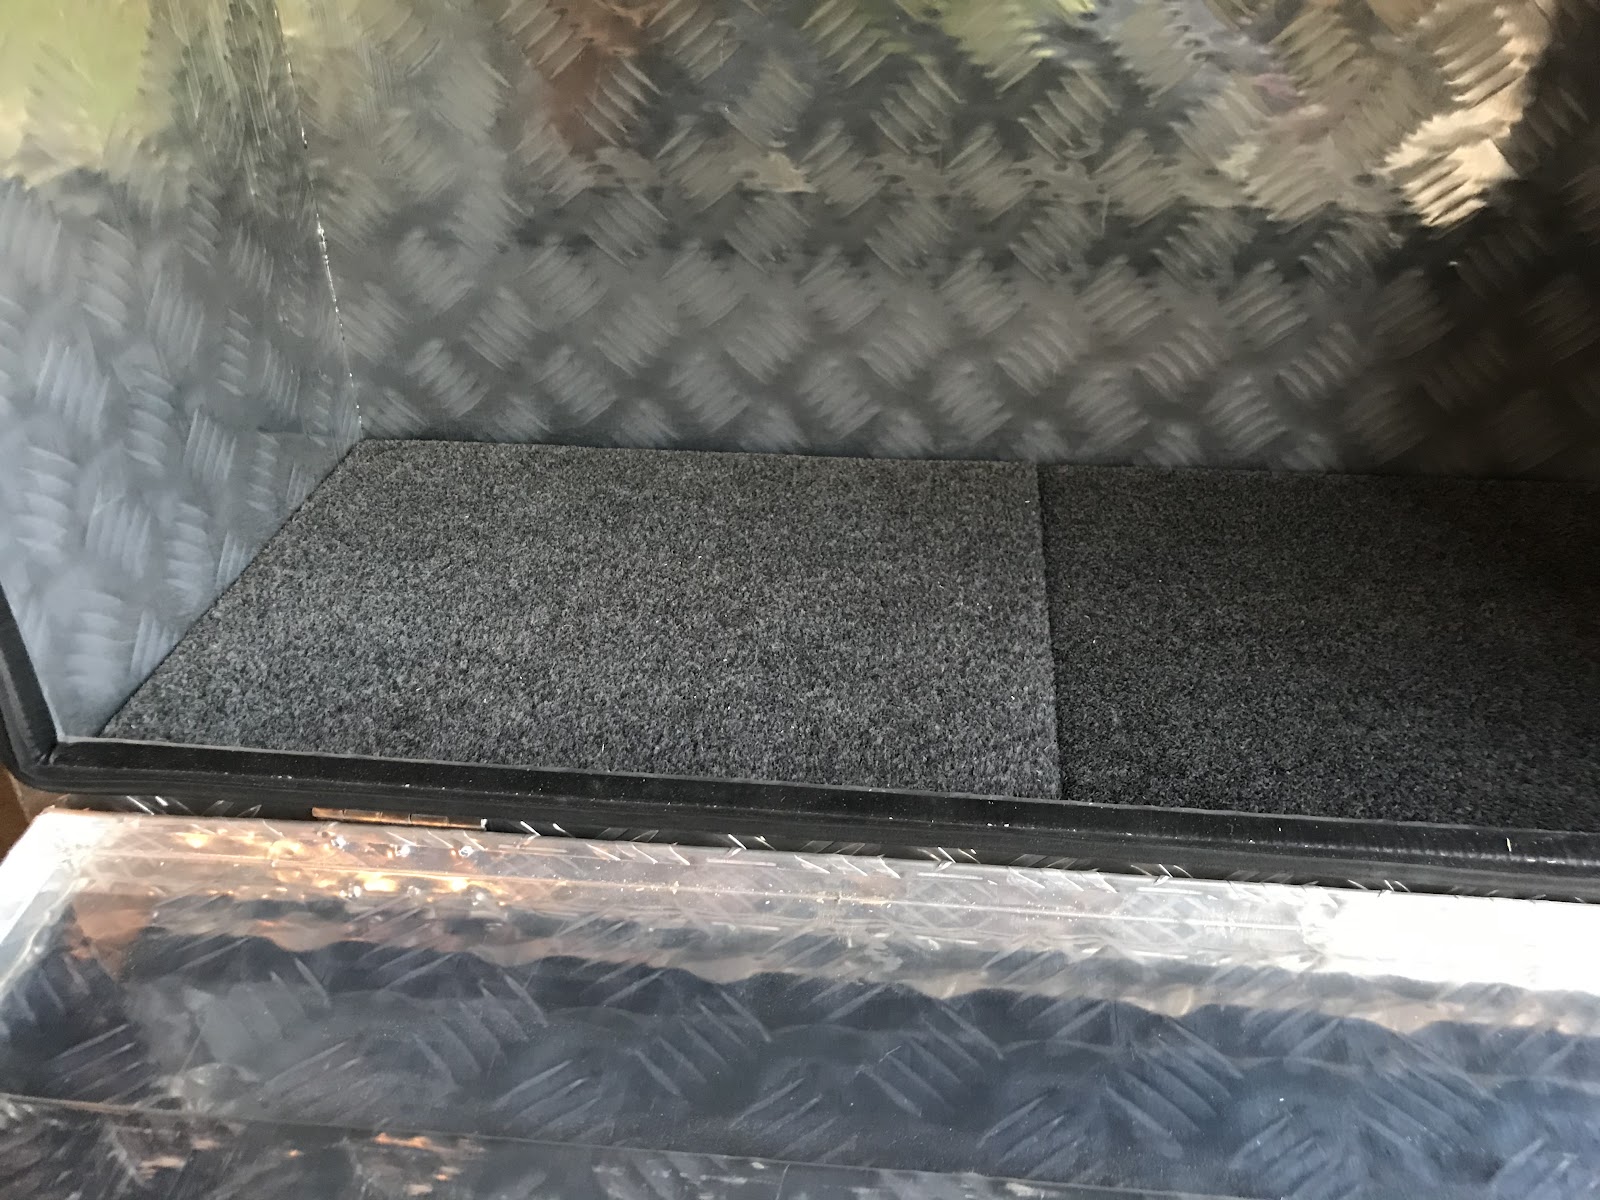
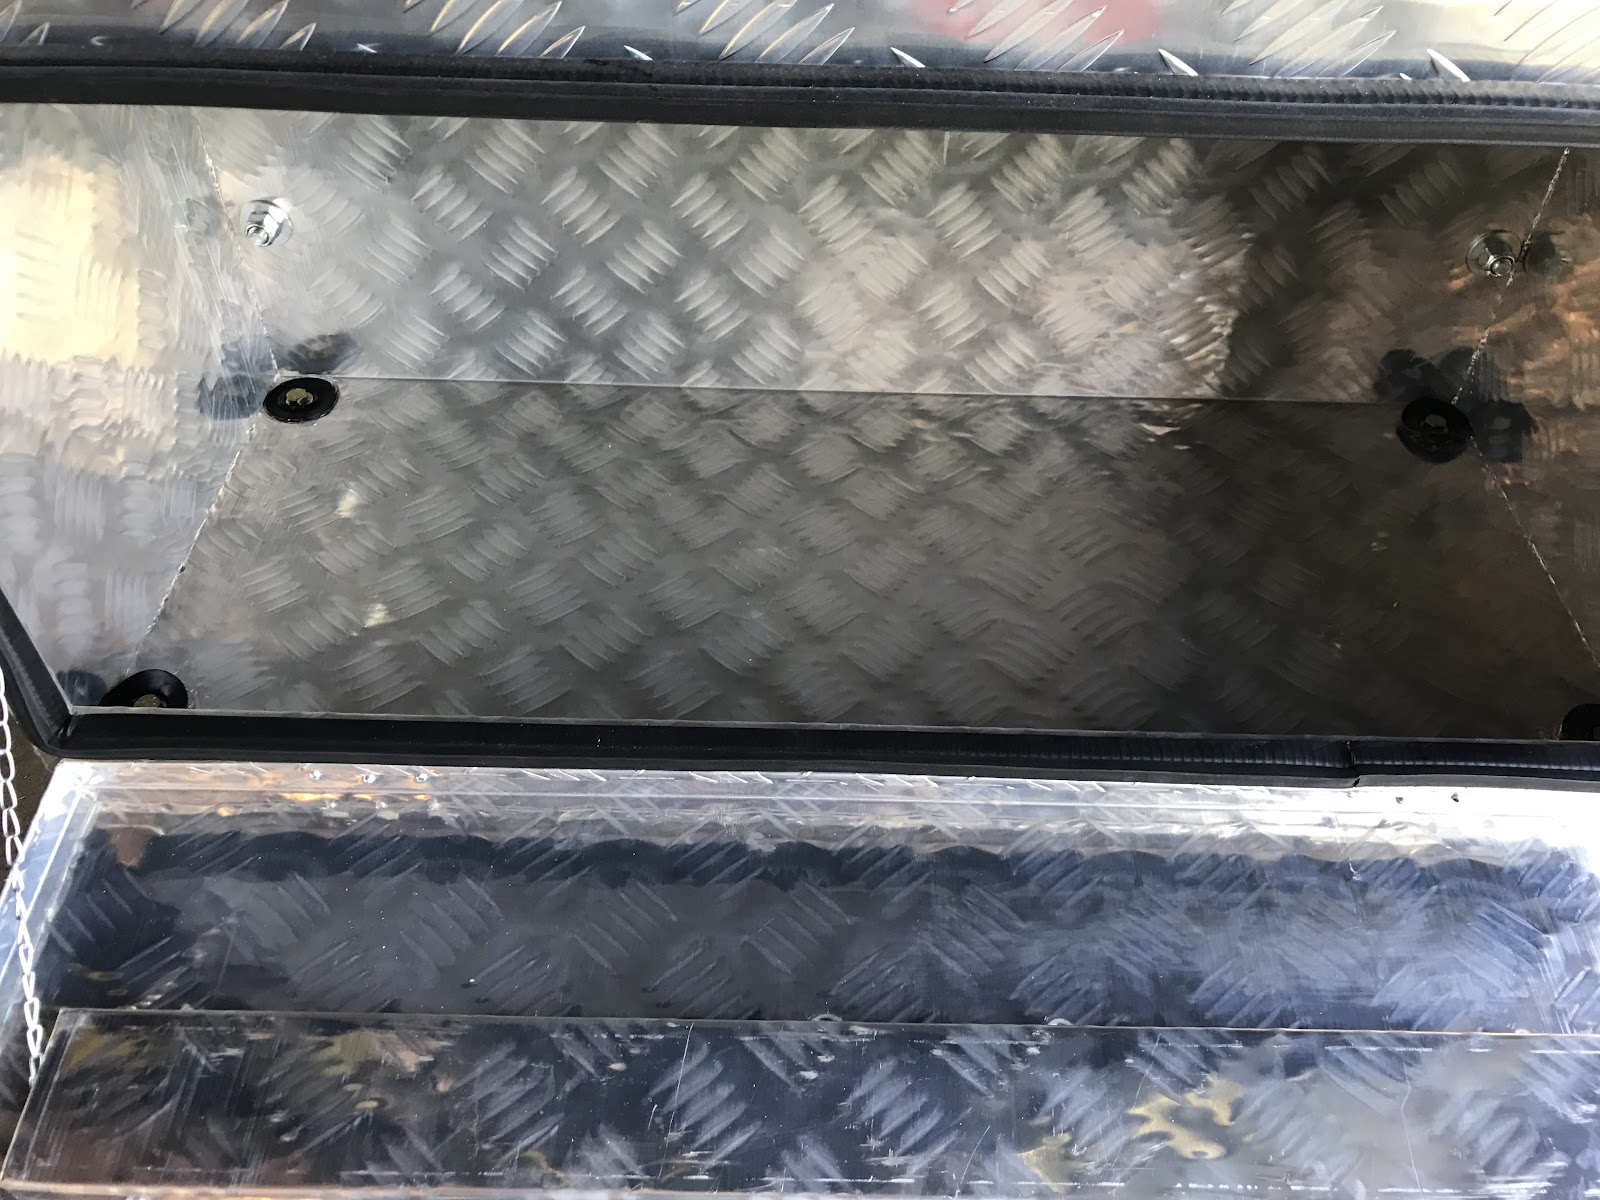
The box feels so light! Planning on hauling a floor jack and some other stuff, so feel like I need to supplement the floor with some plywood. I had some ¾ plywood laying around from another project. It isn’t treated, but I’m going to use it anyway. I covered it with marine carpet, also left over from another project. I had to cut my single rectangle into 2 pieces to get it inside the toolbox. Then, I had to trim those pieces down again to account for the carpet adding a bit to the overall dimensions.
Here’s a closer shot of the rubber, and the carpeted plywood inside the box.
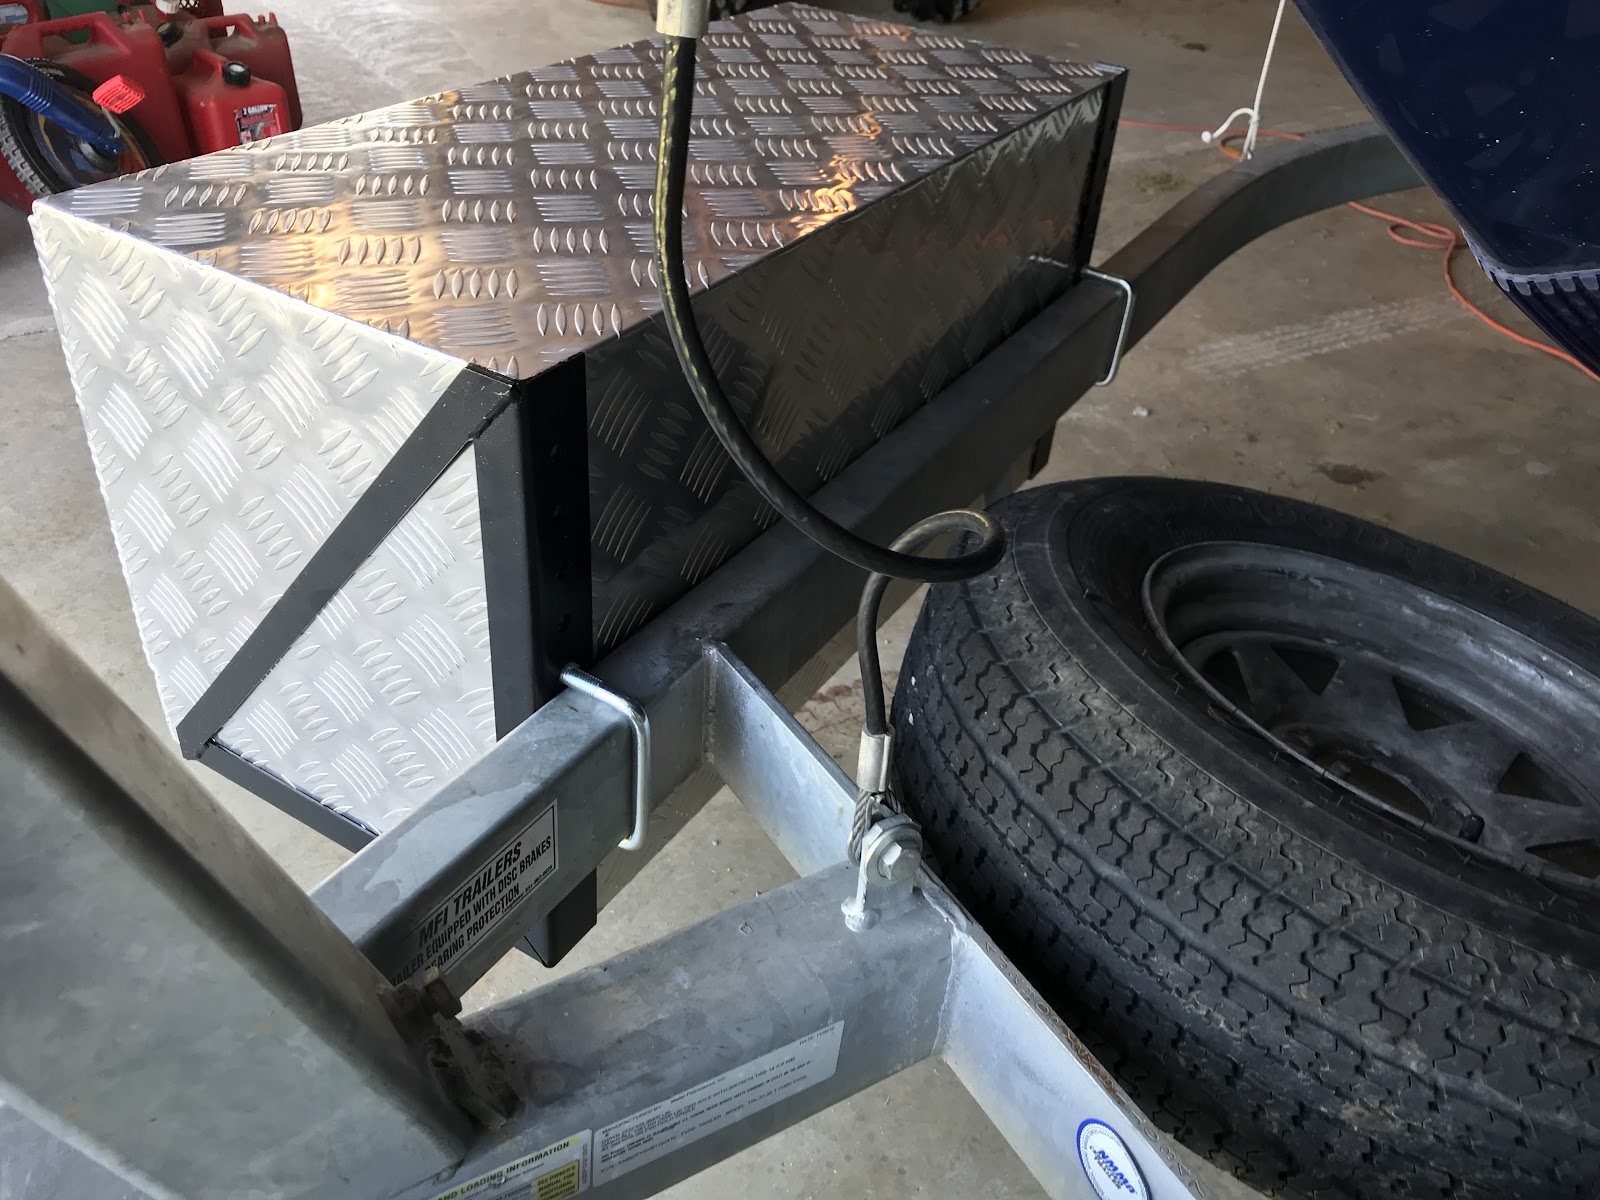
Originaly, I had ⅜” UBolt, but after looking at it, I felt like they looked to lightweight. So, I ordered the ½”. I had to drill out the mount bracket hole that I wanted to use (the pre-drilled holes aren’t quite big enough). And, for my location on the trailer, I needed to drill a new hole, as the vertical piece didn’t quite have a hole in the right spot for me.
Also, have to drill holes in the back of the box for the mounting bracket. And, bottom of the box. Hopefully, to make these holes waterproof, I got some rubber washers and coated the area pretty good with clear silicon when inserting the bolts.
Here’s the finished product. Still need to try launch and retrieval to see if this box gets wet or not. I’m hoping that it won’t, as it is a little bit forward of the bunks. After mounting the box on the trailer, I’m not sure I would drill the holes on the bottom again. It felt pretty stable without them. But, it’s not going anywhere now.
Will report back once I have attempted a launch and retrieval. I'm planning to put some cardboard or paper towel in the box the first time I launch just to see what happens. I'll take a couple pics to see whether it's in the water, or not. I suppose, this would also depend on the specific ramp depth and angle, of course.
Edit: I think first time out, I'm going to walk it on and off the trailer with the ropes, just to see how she floats and how close to the box the boat comes. I've seen pics of spare tire carriers closer to the hull than this, so I don't "think" there's anything to worry about there.
")