Follow along with the video below to see how to install our site as a web app on your home screen.
Note: This feature may not be available in some browsers.
Welcome to Jetboaters.net!
We are delighted you have found your way to the best Jet Boaters Forum on the internet! Please consider Signing Up so that you can enjoy all the features and offers on the forum. We have members with boats from all the major manufacturers including Yamaha, Seadoo, Scarab and Chaparral. We don't email you SPAM, and the site is totally non-commercial. So what's to lose? IT IS FREE!
Membership allows you to ask questions (no matter how mundane), meet up with other jet boaters, see full images (not just thumbnails), browse the member map and qualifies you for members only discounts offered by vendors who run specials for our members only! (It also gets rid of this banner!)
Wasn’t necessarily the boat but the trailer. Bent my trailer guide on my first time pulling out in a heavy crosswind. No photo. Wait, doesn’t that mean it didn’t happen?
Dropped her off at Best4Less tire shop to have the bearings and breaks inspected. The trailer is very squeaky and is pretty much growling at me when braking.
Waited waaaayyyy too long for this simple freshness fix of ol’09 helm with new covers for rocker switches. All black, excellent visibility of labels in day or dark/lit, & 100% exact fit aftermarket cheap.
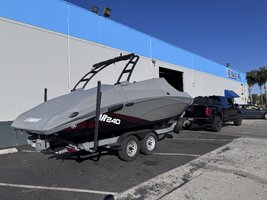
Installed the thrust vector yesterday, right after UPS delivered it. Looking forward to testing it out at the lake today. @JetBoatPilot Thanks for the fastest shipping!
Super simple one I just took care of. The OE engine hatch sound deadening was starting to fall off to the point where opening the hatch was difficult because the foam would get stuck on the sides of the compartment when lifting the hatch. Re-spraying 3M adhesive didn’t hold it. Just added some fender washers and 1/4-20 nylock nuts to the studs that mount the seat cushions (they’re long enough) to hold the foam in place.
Super simple one I just took care of. The OE engine hatch sound deadening was starting to fall off to the point where opening the hatch was difficult because the foam would get stuck on the sides of the compartment when lifting the hatch. Re-spraying 3M adhesive didn’t hold it. Just added some fender washers and 1/4-20 nylock nuts to the studs that mount the seat cushions (they’re long enough) to hold the foam in place. View attachment 238231
My wife was doing some stuff with foam like this, and I noticed a few things. She used 3M Super 77 for the spray adhesive. She would spray both sides of the items she was looking to fasten together. She'd spray any foam once, let it dry, and then spray it again. If it were a hard surface, that only got one coat - while the spray adhesive was still wet/tacky, she'd then smush the pieces together, and use some weights or hold it in place. It wouldn't take long. To me, it reminded me of using contact cement, like you'd use to lay a laminate countertop.
No idea if this would help, just relaying an observation.
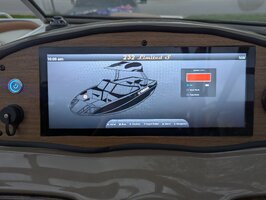
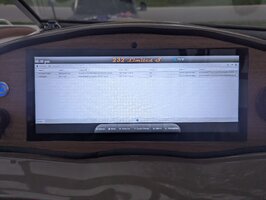
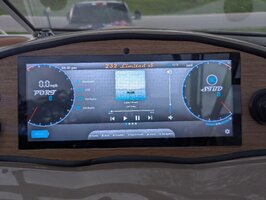
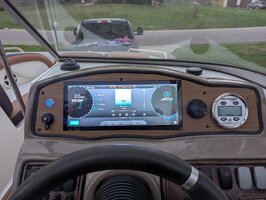
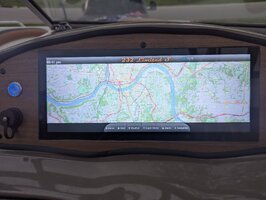
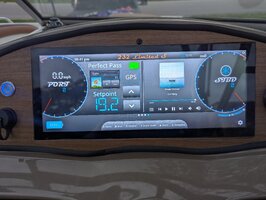
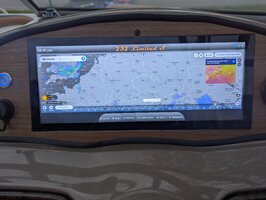
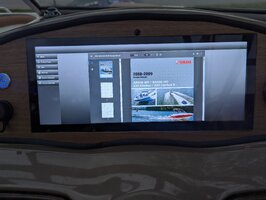
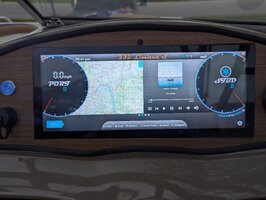
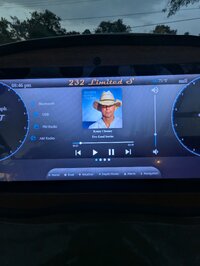
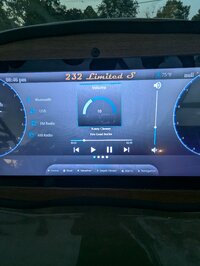
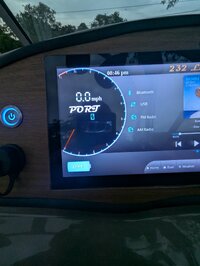
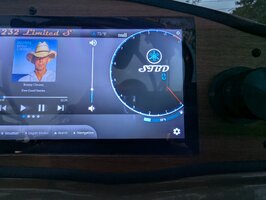
Got some good testing done at the lake today. All and all it is working pretty good a few bugs to iron out still but I am happy so far. I tried to take a video while I was driving but the glare is to strong so here are some pics of the dash screens.
Not exactly the boat, not exactly the tow vehicle but I’ll post it here.
Installed new sealed LED STT lights on the trailer. Been having issues with a rusted socket on one side so I searched online for something different and found this kit that had the enclosed steel boxes, oval & round LED lights and grommets for about $45.
Started a few days ago by spraying the boxes with 3M undercoating to help them hold up to the water.View attachment 163090 Drilled a drain hole in the box to let water out & also drilled mounting holes in the back of the box. Then removed the old lights and getting rid of the snap-loc wiring connectors and used heat shrink butt connectors. Tapped the frame for a good ground on each side and got to installing. Connected all of the wires, tested to make sure all was functioning properly and then put grommets & lights in the boxes. Overall an easy 45 minute project after the undercoating had dried & cured. View attachment 163092View attachment 163091View attachment 163098View attachment 163095View attachment 163094View attachment 163093View attachment 163096
How did these lights work out? I feel like I saw another light swap from you after this.
Time to replace mine and those shorelandr oem led ones sure are expensive.
How did these lights work out? I feel like I saw another light swap from you after this.
Time to replace mine and those shorelandr oem led ones sure are expensive.
I could have sworn that I took pics of what I swapped in, but the only thing I found was a Pic of the connectors. Tomorrow, I have to hook up the boat and at least move it, so I will try to get my broken ass down and get you some pics of what I did. I cut the OEM connection and spliced the new wires in so I'd have the easy connectors... One of the better things I should have done earlier, but I figured I'd wait until the lights needed to be replaced. Easy, with the right materials and tools
These have been great replacements for me, as I thought the same thing about the OEM LED's, and decided to give them a shot.
Got some good testing done at the lake today. All and all it is working pretty good a few bugs to iron out still but I am happy so far. I tried to take a video while I was driving but the glare is to strong so here are some pics of the dash screens.
How did these lights work out? I feel like I saw another light swap from you after this.
Time to replace mine and those shorelandr oem led ones sure are expensive.
They worked out well. Never had an issue with the lights going out or corrosion on the connector(used a lot of dielectric grease when installing). This last spring I sold the trailer and the boxes were starting to show signs of rusting from the inside but the lights were still working since 2021, even after being in salt water the last couple couple years.
They worked out well. Never had an issue with the lights going out or corrosion on the connector(used a lot of dielectric grease when installing). This last spring I sold the trailer and the boxes were starting to show signs of rusting from the inside but the lights were still working since 2021, even after being in salt water the last couple couple years.
Do you think spraying the inside with a rubberized coating would have helped? Flex Seal Plasti Dip Rustoleum rubber paint or something like that? I think I recall that you had to drill the boxes, or was that another project?
Those rubber surrounds help, but salt water seems to have a knack for helping itself cause more and more damage over time
This will absolutely be the last black hull boat I have. I was an idiot thinking I could have a black boat. Boat got caught in the rain a lot, and I had to put it back in storage wet. The waterspots were insane. Got them all off, but nearly had to bust out the polisher. Probably the last time we'll have the boat out this season due to all the other stuff going on in September.